

Transferring files from your computer to your laptop might sound like a daunting task, but it doesn’t have to be. Imagine never having to worry about losing your important documents, photos, or videos during a transfer.
Picture the ease of accessing all your files on the go, without any hassle. Sounds appealing, right? Whether you’re a student needing to move assignments between devices, a professional working from multiple locations, or just someone who wants to keep their digital life organized, knowing how to transfer files efficiently is essential.
This guide is your ticket to mastering file transfers with confidence. Curious about the quickest methods? Or perhaps you’re worried about data safety during the transfer process? Stay with us. We’ll walk you through the simplest steps, ensuring you can handle file transfers like a pro. By the end of this article, you’ll have all the knowledge you need to make your digital life seamless. Let’s dive in!

Credit: www.hp.com
Using Usb Cable
Transferring files from your computer to your laptop is easy with a USB cable. Connect the devices using the cable, then drag and drop files between folders. Ensure both devices recognize the connection for smooth transfer.
Transferring files from a computer to a laptop can be simple. Using a USB cable is one of the easiest methods. This method doesn’t require internet connectivity. It ensures a stable and fast file transfer. Whether it’s documents, photos, or videos, a USB cable can handle it all.Choosing The Right Cable
Select a USB cable that fits both devices. Common types are USB-A to USB-A or USB-C. Check your computer and laptop ports first. Ensure the cable is in good condition. A damaged cable may disrupt the transfer process. Quality cables ensure efficient data transfer.Connecting Devices
Plug one end of the cable into the computer. Connect the other end to the laptop. Both devices should recognize the connection. If not, check the cable and ports. Restarting the devices can also help. Ensure both devices are on and ready.Transferring Files
Open the file explorer on your computer. Locate the files you want to transfer. Drag and drop them into the laptop’s folder. You can also copy and paste them. Monitor the transfer progress on the screen. Once done, safely disconnect the USB cable. This prevents data corruption.
Credit: www.easeus.com
Via External Hard Drive
Transferring files from a computer to a laptop can be easily done using an external hard drive. Connect the external hard drive to your computer, copy your files, and then plug it into your laptop to paste them. This method is efficient and does not require internet access.
Transferring files from a computer to a laptop can be quick. One effective method is via an external hard drive. This approach is reliable. It works well for large files. It also keeps your data safe. Let’s explore how to do this easily.Selecting A Suitable Hard Drive
Choose a hard drive with enough space. Consider your file size. Check compatibility with your devices. USB 3.0 offers faster speeds. Portable drives are convenient. They are easy to carry.Copying Files To The Drive
Connect the hard drive to your computer. Wait for it to be recognized. Open the file explorer. Select files you want to transfer. Drag and drop them to the drive. Ensure all files are copied correctly.Transferring To Laptop
Remove the hard drive from your computer. Connect it to your laptop. Open the file explorer again. Locate the hard drive. Copy files to your laptop’s storage. Check if all files are transferred.Using Cloud Storage
Transferring files from a computer to a laptop is simple with cloud storage. Upload files to a cloud service, then download them to your laptop effortlessly. This method is secure and efficient, allowing access to your files anytime, anywhere.
Transferring files from your computer to your laptop doesn’t have to be a cumbersome process. Using cloud storage is a convenient method that allows you to access your files anywhere, anytime. This means no more dealing with bulky USB drives or tangled cables. By using cloud storage, you can ensure your files are safe and accessible, even if your devices are not physically connected.Setting Up Cloud Accounts
First, choose a cloud storage service that suits your needs. Popular options include Google Drive, Dropbox, and OneDrive. If you’re like me, you might already have accounts on these platforms through work or school. If not, setting them up is straightforward and typically free for basic use. Once you’ve selected your service, create an account by visiting their website. Follow the prompts to register, usually requiring an email address and password. Ensure your password is strong—cloud security is crucial. Many services offer additional security features like two-step verification; consider enabling these for extra protection.Uploading Files To Cloud
After setting up your account, the next step is uploading your files. Most cloud services have a user-friendly interface that allows you to drag and drop files from your computer. Open the cloud storage app or website on your computer. Look for an upload button, often marked by an arrow pointing upwards. Select the files you wish to transfer and click upload. If you have multiple files, consider organizing them into folders before uploading. This makes it easier to find specific files later.Accessing Files On Laptop
With your files now in the cloud, accessing them on your laptop is simple. Log into your cloud account from your laptop using the same credentials you used on your computer. Navigate to the section where your files are stored. You should see the folders and files you’ve uploaded. Click on any file to download it to your laptop. Cloud storage allows you to work seamlessly across devices. Have you ever been working on a document on your computer, only to realize you need it on your laptop for a meeting? With cloud storage, you can access it instantly, saving you time and stress. Isn’t it amazing how technology simplifies our lives? What’s your favorite cloud service, and why?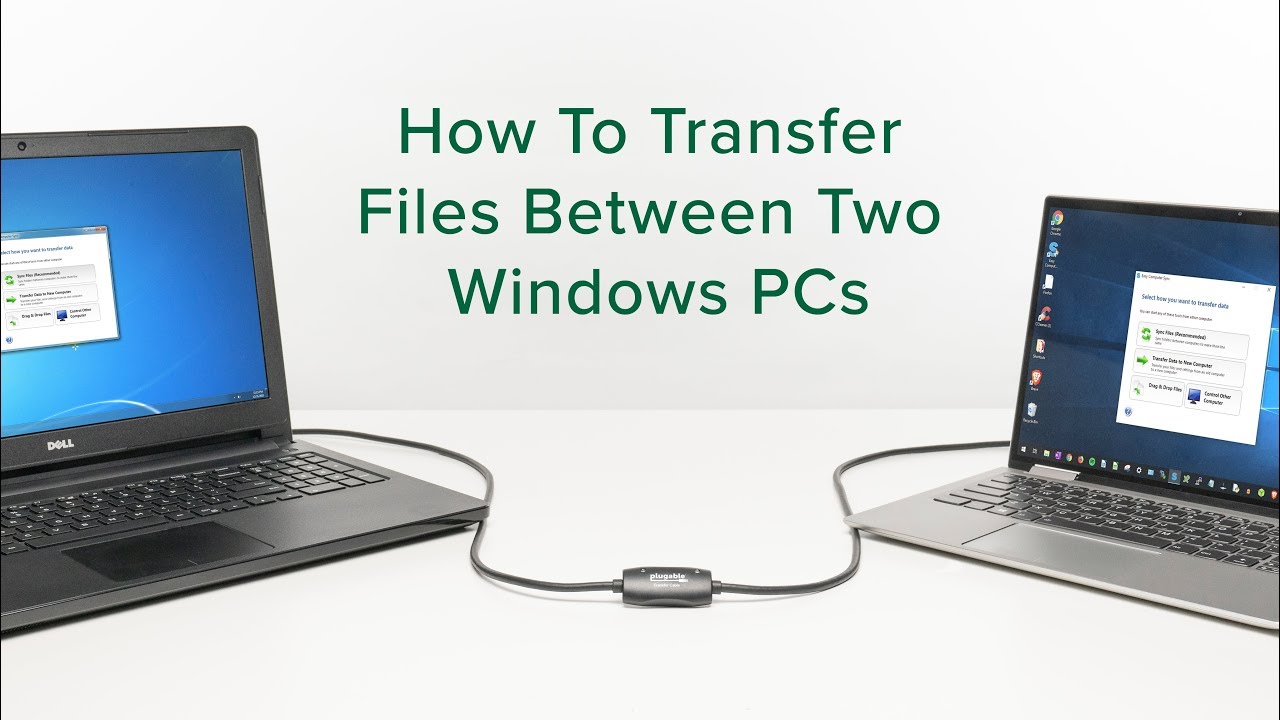
Credit: www.youtube.com
Over Local Network
Transferring files over a local network is efficient. Connect devices to the same network and share files easily. Use built-in tools like file sharing settings for quick transfers between computers and laptops.
Transferring files between your computer and laptop over a local network is both efficient and convenient. No need for USB drives or external storage devices. Imagine working on a project on your desktop and effortlessly accessing those files on your laptop while relaxing on the couch. This method keeps your workflow smooth and your data synchronized. Let’s explore how you can set this up with ease.Setting Up Network Sharing
First, ensure both your computer and laptop are connected to the same Wi-Fi network. This is crucial for seamless file sharing. Open the Network and Sharing Center on your computer. You can find this by searching in the Control Panel or directly in the taskbar search. Enable network discovery and file sharing. This allows other devices on the network to see your computer and access shared files. Be sure to save the changes before moving on.Sharing Files On Computer
Choose the folder you want to share. Right-click on it and select “Properties.” Navigate to the “Sharing” tab. Click on “Share” and add “Everyone” to the list of users. This doesn’t mean your files are open to the world, only to devices on your local network. Adjust permissions if necessary. You can decide whether others can edit the files or just view them. Hit the “Share” button to finalize.Accessing Shared Files On Laptop
Grab your laptop and open “File Explorer.” In the address bar, type \ followed by the IP address of your computer. Can’t find the IP address? Go back to your computer, open Command Prompt, and type ipconfig. Look for “IPv4 Address.” Once connected, you should see the shared folders listed. Simply click to access and start transferring files as needed. Have you considered how much time you’ll save by using this method? No more fumbling with USBs or losing data during transfers. Embrace the ease of local network sharing and enhance your productivity today.Bluetooth Transfer
Bluetooth transfer offers a simple way to move files between computers. It avoids the hassle of cables and external drives. With Bluetooth, you can send documents, photos, and music wirelessly. This method is ideal for small files. It’s convenient for users who need quick transfers.
Enabling Bluetooth On Devices
First, ensure both devices have Bluetooth capabilities. Check your laptop and computer settings. On your computer, go to the control panel or settings menu. Find the Bluetooth option and switch it on. Do the same on your laptop. This prepares them for pairing.
Pairing Computer And Laptop
Once Bluetooth is enabled, it’s time to pair the devices. On your computer, search for available Bluetooth devices. Your laptop should appear in the list. Select it to initiate pairing. Follow any prompts to complete the process. Ensure both devices are within close range.
Sending Files Via Bluetooth
After pairing, you can start sending files. On your computer, right-click the file you want to transfer. Select ‘Send to’ and choose ‘Bluetooth device.’ Your laptop will receive the file request. Accept it to start the transfer. Monitor the transfer progress on both devices.
Using File Transfer Software
Transferring files from a computer to a laptop can be easy. File transfer software makes the process smooth and quick. This software helps move large files without using USB drives or external storage. It also ensures that your files remain safe during the transfer.
Choosing The Right Software
Not all file transfer software is the same. Some are free, while others offer premium features. Look for software that suits your needs and budget. Consider the file types you need to transfer. Some software supports specific formats only. Reading user reviews can help you decide. They provide insights into the software’s performance.
Installing And Setting Up
After choosing the software, download it from the official site. Follow the installation instructions carefully. Most installations are user-friendly and straightforward. Once installed, open the software to start setting it up. You might need to create an account or log in. Ensure your computer and laptop are connected to the same network. This connection is crucial for file transfers.
Initiating File Transfer
Open the software on both devices. Select the files you want to transfer from your computer. Choose the destination folder on your laptop. Ensure you have enough space in the destination folder. Click the transfer button to start the process. Monitor the transfer progress to ensure files move correctly. Once completed, verify the files on your laptop. This step ensures all files transferred successfully.
Email Attachments
Sending files through email attachments is simple. Attach the desired files to an email and send it to yourself. Open the email on your laptop, download the attachments, and your files are transferred.
Transferring files from your computer to your laptop can be a breeze with email attachments. It’s a method you likely use daily without even realizing its potential for easy file transfer. Imagine needing to send a document quickly, without cables or complex software—email attachments come to the rescue.Composing Email With Attachments
Start by opening your email client. You can use any service like Gmail, Outlook, or Yahoo. Click on “Compose” or “New Mail”. Attach the file you want to transfer by clicking on the paperclip icon. Select the file from your computer and add it to the email. Keep the subject line clear. “File Transfer” works well. This makes it easier to find later.Sending To Self
You might think sending emails to yourself is odd. But it’s efficient for transferring files. Enter your own email address in the recipient field. Double-check the attachment. You don’t want to send the wrong file. Hit “Send”. Now, your file is waiting for you in your inbox.Downloading On Laptop
Open your email on your laptop. Find the email with the attachment. Click on the attachment to download it. Save it in a folder where you can easily find it. You might want to create a “Transferred Files” folder. Have you ever considered emailing yourself as a file transfer method? It’s simple, yet powerful. You don’t need special tools or expertise. Just an internet connection and an email account. If you’ve tried this method, did it work seamlessly for you?Frequently Asked Questions
How Can I Transfer Files Using A Usb?
To transfer files with a USB, connect it to your computer and laptop. Drag and drop files from your computer to the USB. Then, connect the USB to your laptop and move files from the USB to your laptop’s storage.
What Software Can Help With File Transfers?
Software like Dropbox, Google Drive, and OneDrive can facilitate file transfers. Install the application on both devices. Upload files from your computer to the cloud and download them to your laptop, ensuring easy access and synchronization.
Can Bluetooth Transfer Files Between Devices?
Yes, Bluetooth can transfer files between devices. Enable Bluetooth on both your computer and laptop. Pair the devices, select files, and initiate the transfer. While convenient for small files, it may be slower compared to other methods.
Is Wi-fi Direct Useful For File Transfer?
Wi-Fi Direct allows fast file transfer without internet. Activate Wi-Fi Direct on both devices. Establish a connection and share files directly, ensuring efficient and speedy transfers, especially for larger files.
Conclusion
Transferring files from your computer to a laptop is simple. Choose the best method that suits your needs. USB drives offer quick transfers. Cloud services allow access anywhere. Bluetooth is great for small files. Network sharing works well for larger transfers.
Always check file sizes and connection quality. Keep your devices updated for smooth transfers. Practice makes perfect. With these methods, your files will move with ease. Try different ways to find what works best for you. Enjoy the flexibility of easy file transfers.
Stay connected and keep your devices in sync.



