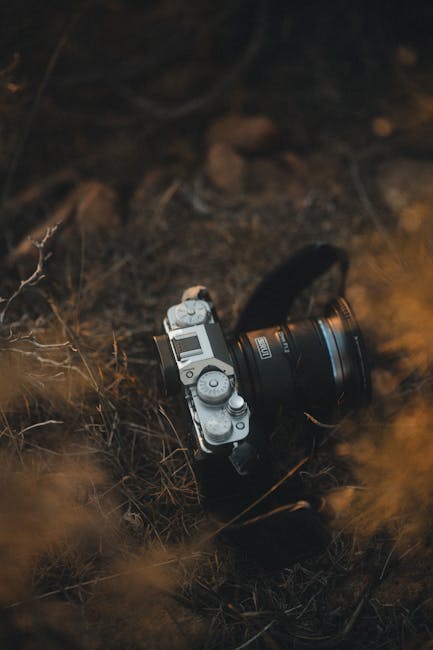
Imagine capturing the perfect sunset. The vibrant colors, the soft glow, and the serene beauty of the horizon can be mesmerizing.
But you know the feeling when the image you capture falls short of what your eyes see. The solution? Understanding the best camera settings for sunset photography. This guide will help you unlock the secrets to taking breathtaking sunset photos.
You’ll discover the settings that enhance the natural beauty of the scene, turning ordinary snapshots into stunning visuals. By the end of this article, you’ll be ready to capture sunsets like never before. Get ready to transform your photography skills and make every sunset picture-worthy. Dive in to find out how you can master the art of sunset photography.
Choosing The Right Equipment
Capturing the perfect sunset requires adjusting your camera settings for optimal results. Set your aperture to f/8 or f/11 for sharpness. Use a low ISO to reduce graininess and achieve vibrant colors. Adjust shutter speed for balanced exposure, considering the changing light.
Choosing the right equipment is crucial for capturing stunning sunset photos. The right tools can enhance your shots. They help showcase the vibrant colors of a sunset. Each piece of equipment has its role. From the camera to the lens and tripod, each choice matters.Camera Types
Different cameras offer unique benefits. DSLR cameras are popular for their versatility. They provide excellent image quality and manual settings. Mirrorless cameras are lighter and offer similar quality. They are great for on-the-go photography. Even smartphone cameras can capture beautiful sunsets. Look for ones with manual settings.Lens Selection
Lenses impact the mood of your sunset photos. Wide-angle lenses capture the entire sky. They are ideal for expansive views. Telephoto lenses focus on the sun or specific details. They help create dramatic close-ups. Consider using a prime lens for sharpness. It often provides better low-light performance.Tripod Use
A tripod stabilizes your camera. It is essential for low-light conditions. Use it to avoid shaky images. It allows for long exposure shots. This enhances the colors and details of a sunset. Lightweight tripods are easy to carry. They are perfect for outdoor shoots.
Credit: www.pinterest.com
Mastering Exposure Settings
Capturing the beauty of a sunset requires mastering exposure settings. The colors and light change quickly. Proper adjustments ensure vibrant and detailed images. Mastering exposure involves setting aperture, shutter speed, and ISO. Each component plays a crucial role in sunset photography.
Aperture Adjustments
Aperture affects the depth of field in your sunset shots. A wider aperture, like f/2.8, captures more light. This setting is ideal for low light conditions. It creates a shallow depth of field, making the sky stand out. For sharper landscapes, use a smaller aperture, such as f/11. This ensures everything in the frame remains in focus.
Shutter Speed Considerations
Shutter speed controls how long the camera sensor is exposed to light. Slow shutter speeds, like 1/15 seconds, capture more light. They are perfect for low-light sunset scenes. Slow speeds can create motion blur, adding drama to clouds or waves. Fast shutter speeds, like 1/500 seconds, freeze movement. This is useful for capturing sharp details in dynamic scenes.
Iso Sensitivity
ISO sensitivity adjusts the camera’s response to light. Lower ISO values, such as 100, produce cleaner images. They reduce noise, ideal for bright sunset settings. Higher ISO values, like 800, help in darker conditions. They increase sensitivity but can add noise. Balance is key. Adjust ISO according to the light available.
Optimizing White Balance
Capturing the perfect sunset is an art form that requires more than just timing and location. One crucial aspect to consider is the white balance of your camera. This setting determines how colors are rendered, ensuring that the vibrant oranges, reds, and purples of a sunset are accurately captured. Optimizing white balance can make the difference between a stunning image and one that feels flat and muted. Whether you are a seasoned photographer or just starting out, understanding white balance can enhance your sunset photos significantly. Let’s delve into the nuances of automatic vs manual settings and the benefits of custom presets.
Automatic Vs Manual
Automatic white balance is convenient and easy. It adjusts based on the scene, attempting to neutralize colors. However, it can sometimes miss the mark during a sunset, washing out those rich hues.
Manual white balance offers more control. You can adjust settings to emphasize the warmth of the sunset. It requires a bit more effort but rewards with more vivid, true-to-life colors.
Have you ever wondered why some sunset photos look magical while others fall flat? Often, it’s due to the photographer’s choice between automatic and manual white balance.
Custom Presets
Creating custom presets is a game-changer. You save time by setting specific white balance values tailored for sunset scenes. This ensures consistency and quality in your shots.
Experiment with different presets to see what works best for your style. Adjust the temperature and tint until you find the perfect blend.
Imagine having a go-to setting that makes every sunset photo pop with brilliance. Custom presets give you that advantage.
Next time you’re out capturing a sunset, ask yourself: Are you fully utilizing your camera’s white balance capabilities?
Harnessing Natural Light
Capturing stunning sunsets requires adjusting camera settings for optimal light. Set a low ISO to reduce noise. Use a small aperture for sharpness. Slow shutter speeds capture vibrant colors beautifully.
Capturing the perfect sunset photograph is all about harnessing natural light. You want to work with the sun, not against it. The key lies in understanding how light changes during sunset and adjusting your camera settings accordingly. From timing your shot during the golden hour to accounting for cloud cover, there are several factors that play a critical role in capturing that breathtaking image.Golden Hour Timing
The golden hour is your best friend when it comes to sunset photography. It occurs just after sunrise and before sunset, bathing everything in a warm glow. Aim to shoot during this period for soft, diffused light that minimizes harsh shadows. Set your camera to a lower ISO, such as 100 or 200, to reduce noise. A wider aperture, around f/4 or f/5.6, will help capture more light and add depth to your image. Use a tripod to stabilize your shot, as slower shutter speeds may be necessary. Timing is crucial. Arrive early to scout the location and set up your gear. This ensures you capture the changing colors of the sky as the sun dips below the horizon. Have you ever been caught unprepared and missed the perfect shot? Being ready makes all the difference.Cloud Cover Impact
Clouds can be a game-changer for sunset photos. They scatter light and can create dramatic effects in the sky. Instead of avoiding cloudy days, embrace them as an opportunity for unique shots. Adjust your white balance to ‘cloudy’ to enhance the warmth of the sunset hues. This setting compensates for cool tones that clouds might introduce. A slightly faster shutter speed can help capture the dynamic movement of clouds, adding interest to your composition. Always keep an eye on the weather forecast. A few clouds can lead to a stunning display of colors and patterns. Have you ever noticed how a seemingly dull sky transforms into a masterpiece as the sun sets? Sometimes, the most unexpected conditions yield the best results. Harnessing natural light is all about understanding and adapting to your environment. By timing your shots and adjusting for cloud cover, you’ll be better prepared to capture the stunning beauty of a sunset in its full glory. So grab your camera and make the most of nature’s canvas.Enhancing Color Vibrancy
Capture stunning sunset colors with the right camera settings. Adjust the aperture to control light. Use a low ISO for less noise. Set the white balance to “shade” for warmer tones. Play with shutter speed for dramatic effects. These tweaks enhance the natural beauty of sunsets.
Capturing the vibrant hues of a sunset can be a magical experience, but achieving that perfect shot often requires tweaking your camera settings to enhance color vibrancy. These vivid colors are what make sunset photography so captivating, transforming ordinary landscapes into extraordinary scenes. To fully capture this beauty, you’ll need to master a few techniques that help bring out and amplify these natural colors.Saturation Techniques
Enhancing color vibrancy starts with understanding saturation. Saturation refers to the intensity of colors in your images. To make sunset colors pop, adjust your camera’s saturation settings. Most cameras have a saturation setting within the picture style or creative style menus. Try increasing the saturation just a notch. This can turn a dull orange into a fiery red, amplifying the warmth of the sunset. Another way is to shoot in RAW format. RAW files preserve more details and colors than JPEGs. When you edit these files later, you can adjust the saturation with more control and precision.Using Filters
Filters can be your best friend when photographing sunsets. They help manage light and enhance colors, giving your images that extra punch. A polarizing filter is particularly useful. It reduces reflections and enhances colors, making the sky look more vibrant. When I first used a polarizing filter, the difference was night and day. The blues were deeper and the oranges more intense. Graduated neutral density filters are also beneficial. They balance the exposure between the bright sky and the darker foreground. This ensures that you capture the full range of colors without losing detail in the brightest or darkest parts of the image. Have you ever used filters to enhance your sunset shots? They might just be the missing piece in your photography toolkit. Experiment with different filters and see how they transform your sunset photos. Engaging with these techniques can truly elevate your sunset photography. Each small tweak can lead to a significant improvement, making your images not just photographs, but stunning pieces of art.Credit: thelenslounge.com
Post-processing Tips
Capturing stunning sunset photos requires setting your camera to low ISO and adjusting the aperture for depth. Use a slower shutter speed to enhance the colors. Experiment with white balance to achieve warm tones and vibrant hues.
When capturing stunning sunset photos, the work doesn’t end with snapping the picture. Post-processing plays a crucial role in enhancing the beauty of your sunset images. It helps in bringing out the vibrant colors and details. This section will guide you on how to refine your sunset shots through post-processing. Focus on using the right tools and making simple adjustments to elevate your photos.Editing Software
Choosing the right editing software is essential. Popular options include Adobe Lightroom and Photoshop. These tools offer a range of features for beginners and professionals. They help you fine-tune your images with ease. For a simpler option, try free software like GIMP. It provides basic editing functions at no cost.Adjusting Contrast And Brightness
Contrast and brightness adjustments can transform your sunset photo. Increasing contrast makes colors pop and adds depth. But be cautious not to overdo it. Too much contrast can make images look unnatural. Brightness adjustments are also key. Brighten your image to reveal hidden details. But ensure you maintain the natural look of the sunset. Balancing these adjustments will enhance the overall quality of your photo.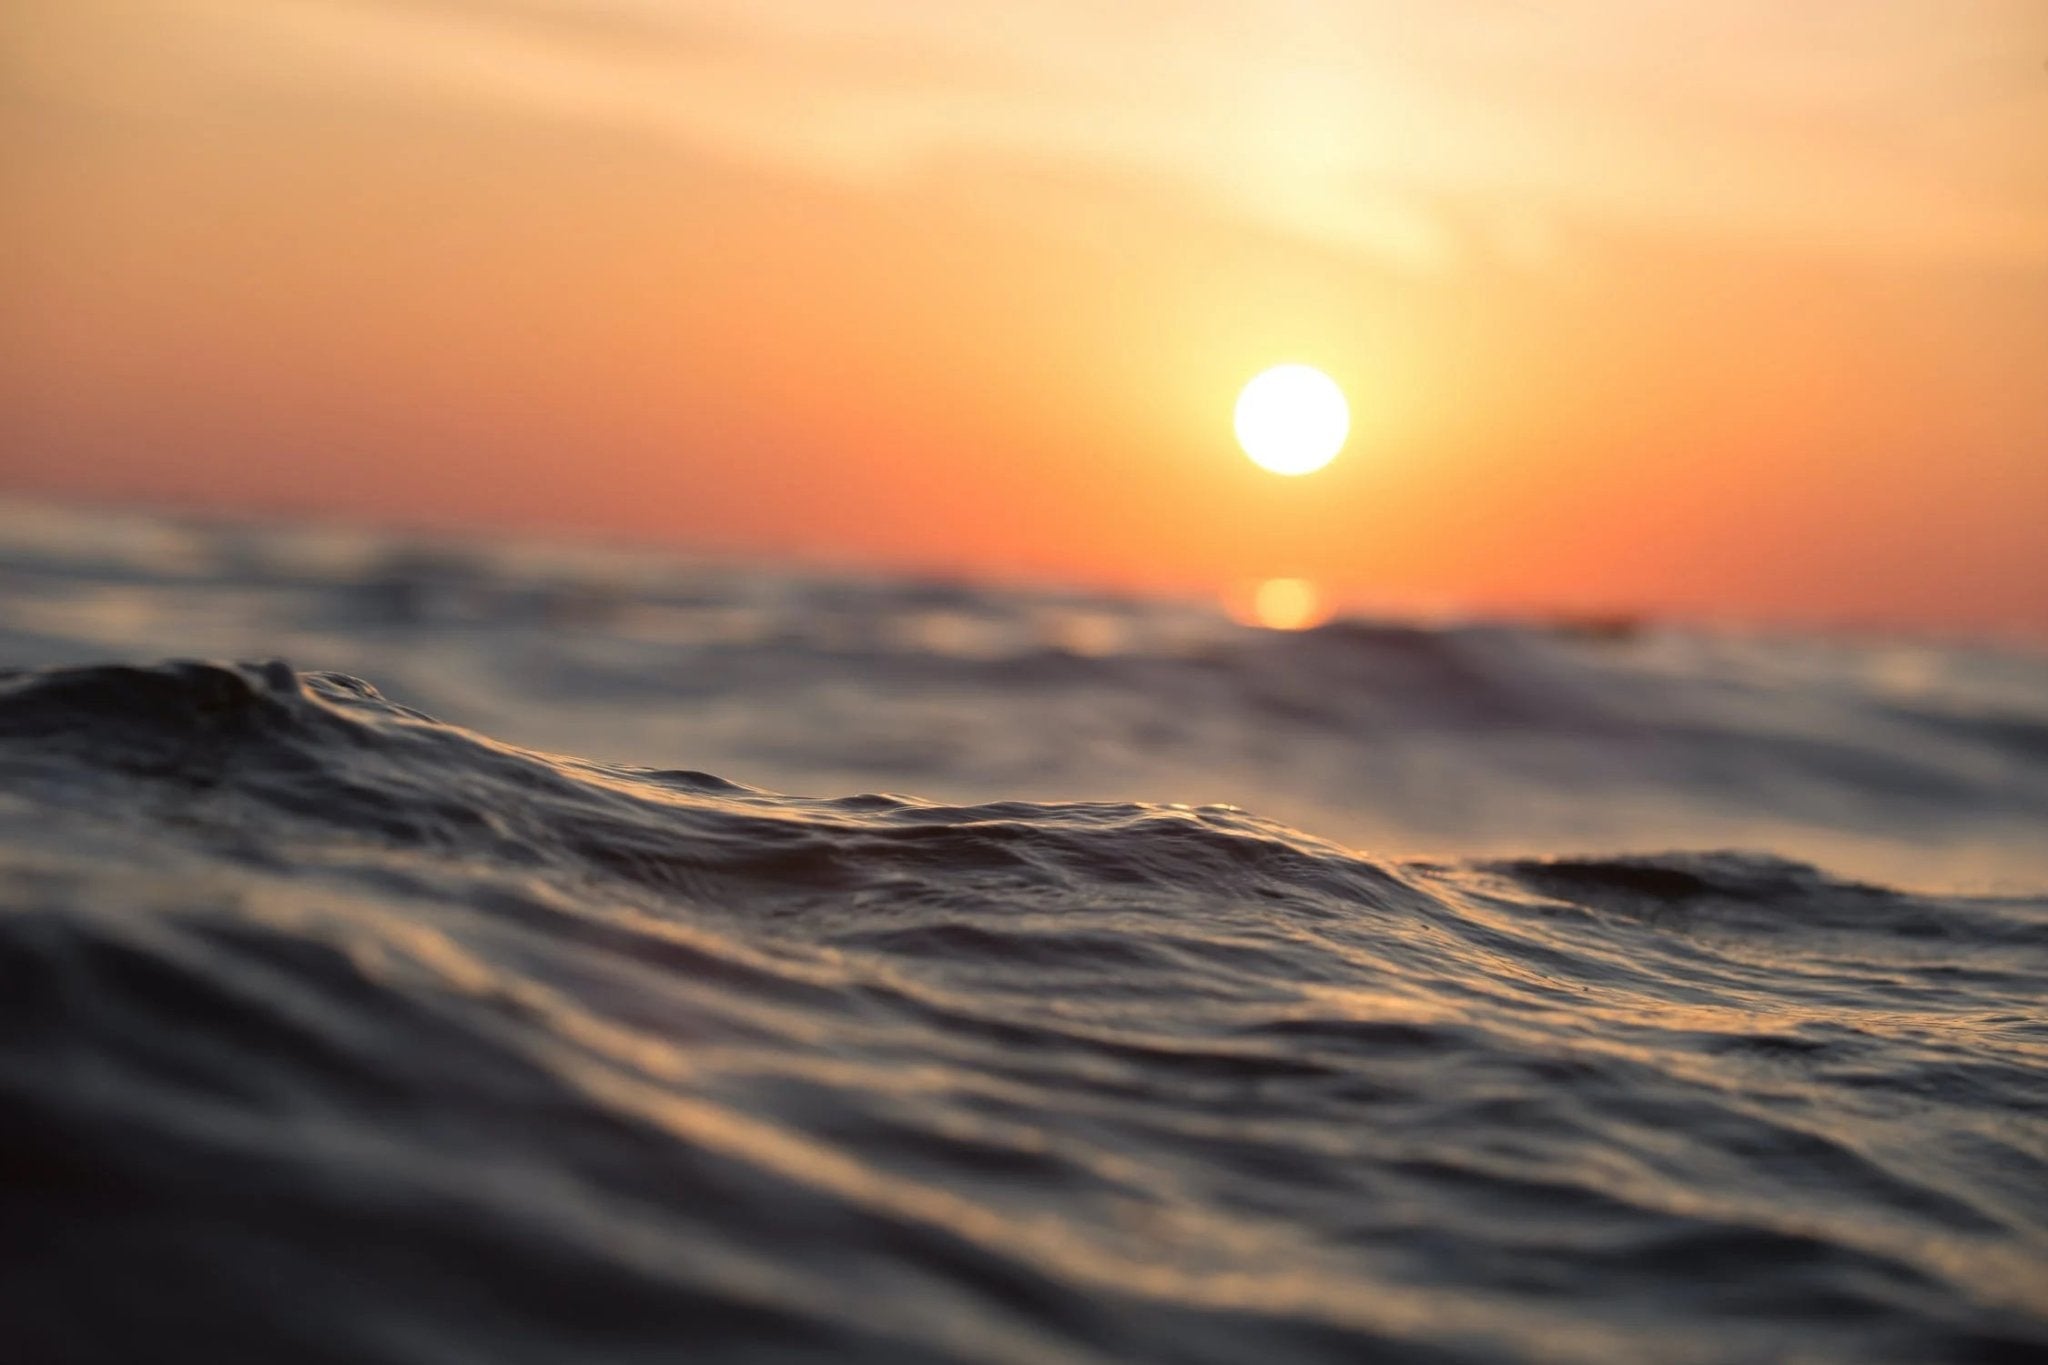
Credit: store.bandccamera.com
Frequently Asked Questions
What Is The Best Aperture For Sunset Photography?
To capture stunning sunsets, use a small aperture like f/8 or f/11. This enhances depth of field and ensures sharp details. A narrow aperture also helps in managing exposure during low-light conditions, creating vibrant and dramatic sunset images. Adjust based on your creative preference and lens capability.
How To Set Iso For Sunset Photos?
Set your ISO low, ideally around ISO 100 or 200, to minimize noise in sunset photos. Lower ISO settings help capture vibrant colors and maintain clarity. As light diminishes, consider increasing ISO slightly if needed, but prioritize using a tripod to avoid camera shake and preserve image quality.
Which Shutter Speed Is Ideal For Sunsets?
For stunning sunset captures, use slower shutter speeds like 1/30s to 1/60s. This allows more light in, enhancing details and colors. Adjust as needed based on lighting conditions. Using a tripod helps stabilize the camera, ensuring sharpness even at slower speeds, and preventing blur from hand movement.
Should I Use A Tripod For Sunset Photography?
Yes, using a tripod is highly recommended for sunset photography. It stabilizes the camera, preventing blur during slower shutter speeds. A tripod helps maintain clarity and sharpness, especially in low-light conditions. It also allows for creative compositions and long exposures, enhancing the overall quality of sunset images.
Conclusion
Capturing sunsets requires the right camera settings. These settings can make or break your sunset photos. Adjust your ISO to control light sensitivity. Choose a smaller aperture for sharp images. Use a slower shutter speed to capture movement. Experiment with white balance for richer colors.
Practice makes perfect, so keep shooting. Each sunset is unique and tells its own story. Enjoy the process and let creativity guide you. With these tips, you’ll capture breathtaking sunset photos. Keep your camera ready and enjoy the beauty of nature.
Happy shooting!